Until a few years ago, if you wanted a design that didn’t come from WordPress, you had to buy a template or hire a designer. With Elementor out in the world, anyone can make amazing websites with just a few clicks.
Elementor is a Page Builder plugin for WordPress that lets you build fully customized websites by dragging and dropping elements. The basic free plugin has a good number of design options, and you can upgrade to the full paid plugin if you want more. All designs are 100% responsive, and you can see what they look like on the three most popular devices with just one click (smartphone, tablet, and computer).
The beginning of Elementor lies in the Israeli company Pojo, which started its journey by creating designed WordPress templates. In the end, Pojo created an effective solution, which in fact completely eliminates the need for a ready-made template. Elementor soon became a product in its own right, and today it is one of the 5 most popular WordPress plugins in the world, with more than 12 million active installations and a market share of 8% in the top 1 million websites in the world, according to W3Tech.
What are Elementor’s benefits?
There are a lot of page builders in the WordPress ecosystem, and some of them do make building and designing pages quick and easy. But only Elementor has thought about what website owners need now and in the future and put it all in one place.
- Template creation: Aside from the fact that Elementor is an open-source product that is updated frequently, the most useful thing about it is that you can build fixed templates ahead of time that you can fully customize. Once you’ve decided how the website pages should look, you just make one permanent template and use it from then on. This way, the design of all the pages on the site will be the same, and you can always change the template to suit your needs. Because of this ability, you almost never need or use traditional WordPress templates anymore.
- Dedicated add-ons: Elementor also comes with add-ons that are made just for it (Elementor Add-ons). There are tens of thousands of these plugins, and they all have different features, such as tables, grids that make it easy to place things on the page, and so on. If you use Elementor’s plugins wisely and smartly, they can be a good replacement for the regular plugins used by the WordPress community as a whole.
- Adaptation for SEO: Elementor has quite a few extra benefits, such as the ability to easily define H header tags for elements, the ability to control the visibility on mobile devices on each page, optimized code for fast loading time, and more.
How to install Elementor on WordPress?
Installation is very simple; Just like you install any other plugin in WordPress:
- Step 1 – access the plugins category and click on “New plugin”.
- Step 2 – Search in the search box: elementor.
- Step 3 – Click on “Install” and then “Activate” and that’s it.

Which is better: Elementor or Elementor Pro?
Like most open-source software, Elementor has two main versions: the free version, which has fewer features than the paid version, and the paid version, which has all the features, including those that will be added in the future (Elementor Pro).
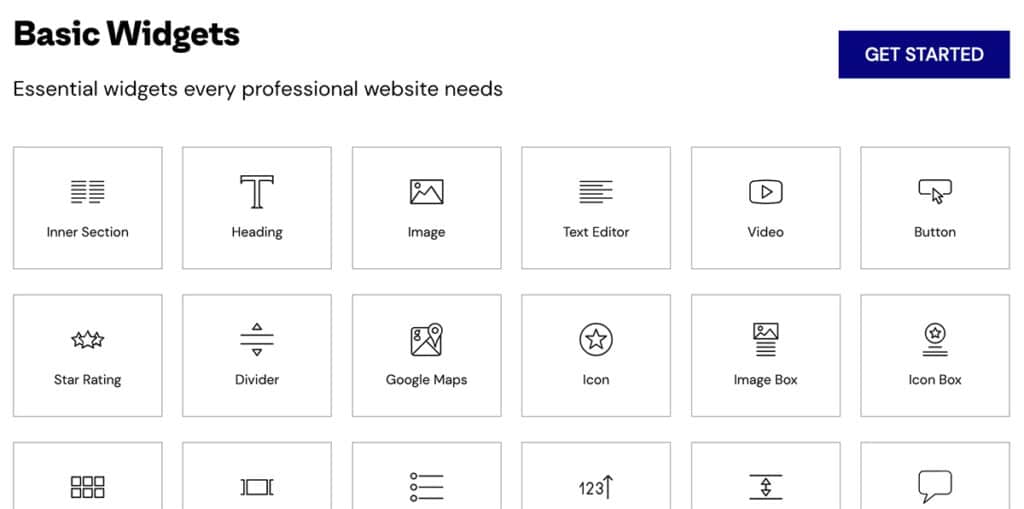
So how do you know when to use each one? The answer depends on what you, as site owners or administrators, are looking for. The basic version of Elementor is more than enough for simple tasks that don’t need a lot of tweaking. It lets you make templates for pages and posts, use more than 40 pre-made design features (called “Elementor Widgets“), more than 70 ready-made templates, and so on. After you choose one, you can change any of the templates to fit your needs.
Basic elements include things like code embedding, video embedding, ready-made icons, ready-made animations, designed buttons, adding surfer reviews, an author box, a search box, breadcrumbs, and a long list of other things. To turn on the element, just click on it and drag it to the right page. Then make any necessary changes.

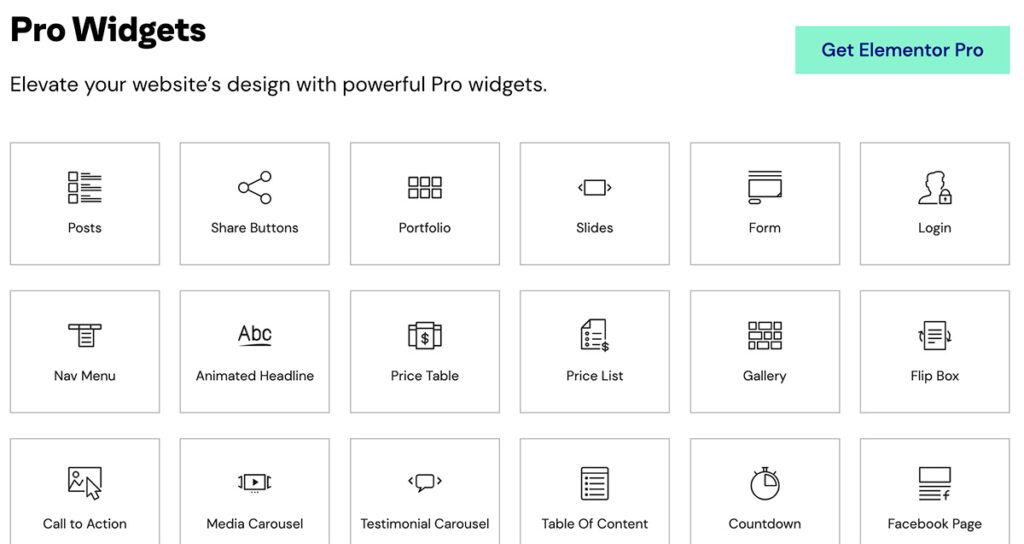
For more advanced users who really need a wide range of design options, it is recommended and even required to start with Elementor Pro right away. This paid version has features that aren’t in the free version, such as a form builder, a template builder, a pop-up builder, a WooCommerce store connection, and technical support and software updates for a year.
Advanced elements, such as forms, presentations, galleries in different formats, logo boxes, price lists, call-to-action buttons, surfer reviews with star ratings, and, of course, a lot of Woo-commerce elements that let you design online stores.
Elementor Pro’s current price list offers several packages:
Essential plan for one website – $59 / year.
Advanced plan for up to 3 websites – $99 / year.
Expert plan for up to 25 sites – $199 / year.
Agency plan for up to 1,000 sites – $399 / year.
*prices may differ since the article was written.
Personal opinion: Even with the Expert plan, which costs $199 a year and gives you the use of the pro version on up to 25 sites, you only pay less than 8$ per site a year. This is the same as any monthly payment for a domain or hosting, and it’s a lot cheaper. In exchange, you get to use this great product to its fullest!

How do you build a website with Elementor?
Elementor is a plugin that can do a lot of different things and has so many options that it would be impossible to cover them all in this type of post. Since it is a drag-and-drop plugin, working with it is easy and quick compared to other choices. The more you do it, the more it will feel like second nature.
After installing Elementor, you have a few options for how to use it. To keep things simple, we’ll just talk about the two main ways to use the free version: working directly on pages and using ready-made templates. In the paid version, you can also build a whole website instead of just single pages that you have already made.
1. Direct editing on pages (in the free version)
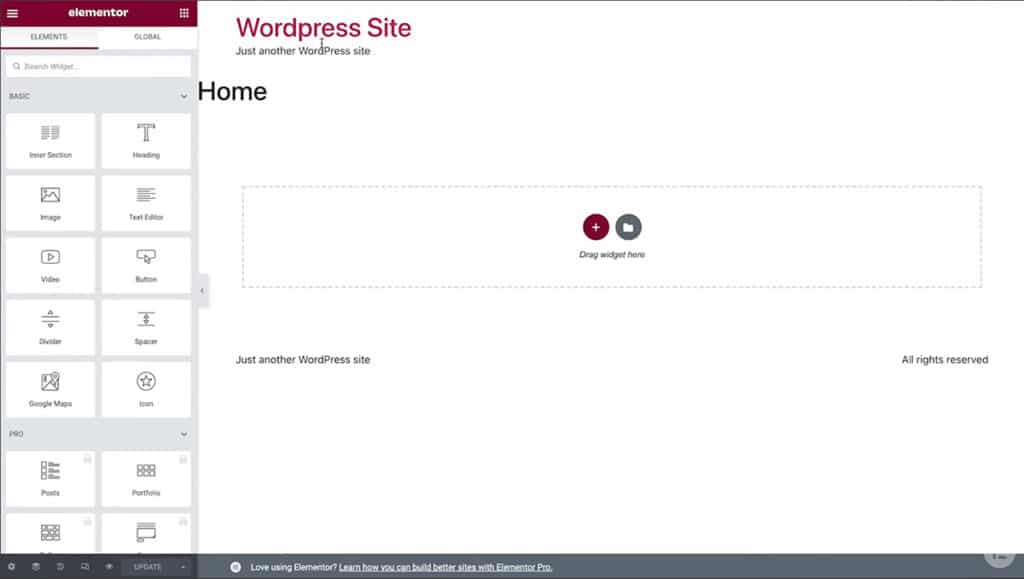
Each page and post now has the “Elementor” option after installation. After making a new page and giving it a title in the regular editor, click “Edit with Elementor” and go to the design fun part.
In a basic content editor in WordPress, all of the work (text, images, and more) is usually done on the page at once. With Elementor, most of the work is done in boxes and blocks, which divide the page into the parts we need: title box, text box, image box, video box, and so on.
If the page is blank, we’ll have to drag all the widgets we’re interested in ahead of time (from the menu on the side to the page canvas). If we click on the purple plus sign in the middle, we can choose between one column, two columns, three columns, or more. From the side menu, we can drag more widgets into each column. Just plain fun drag & drop!

2. Working with ready-made page templates (in the free version)
When we work directly on pages, we have to do the same thing over and over again for each page we build. Instead, it’s better to have a pre-made template that you only have to design once and then use for all of the site’s pages.
At this point, you have two main choices: work on pages that have already been made (“Pages” tab in the top menu) or use templates that we made ourselves (“My Templates” tab).
The simplest, fastest, and easiest thing to do would be to pick a page that’s already been made and change it to fit our needs (“Pages” tab in the menu).
If we still want to make a page template from scratch, we can go to the main menu in WordPress and click on “Templates.” We’ll click “New” at the top of the page, make the page template the same way we did before (by dragging from the menu), and save the template. In the example we’re looking at, I decided to make a separate template for pages and a separate template for posts, since they’re both set up a little differently.
To activate the template we created in a new page / post – we will create a new page / post as described in the previous section, but this time we will click on the gray icon with the white folder symbol in the center of the page. In the new window that opens, select the “My Templates” tab, then the template we prepared in advance.
Final Tip
As we already knew, Elementor is not a template but a plugin. Installing this plugin on your WordPress site makes this layer that lets us control which pages are visible. But every WordPress site needs a basic theme to work on. So, if you’re building a website from scratch, we recommend the Hello Elementor theme from Elementor, which you can download for free. It’s safe to assume that Elementor will create the best theme possible that works well with their code.
And if you are a visual learner, and require a step-by-step guide – then Elementor has you covered. with a massive video library for every possible thing you need, just head over to Elementor’s Academy.


